단순한 유리 화병처럼 고전적이지만 때로는 중앙 장식품에 약간의 색상과 개성을 추가하는 것이 좋습니다. 이것 DIY 사진 꽃병은 테이블 상판을 꾸미고 색상을 추가할 수 있는 좋은 방법이며 훌륭한 선물 아이디어이기도 합니다.

관련 이야기. Martha Stewart는 우리가 지금까지 본 것 중 가장 세련된 부활절 달걀을 만드는 방법을 보여줍니다.

이것은 단순한 꽃꽂이에 피자를 더할 뿐만 아니라 독특한 웨딩 센터피스로도 좋은 아이디어입니다. 또한 이 프로젝트는 $10 미만의 비용으로 귀하의 수첩을 해치지 않을 것입니다.
필요한 것:

- 5 x 5″ 정사각형 또는 원형 꽃병
- 색종이 4장 또는 스티로폼 시트
- 접착제 또는 테이프
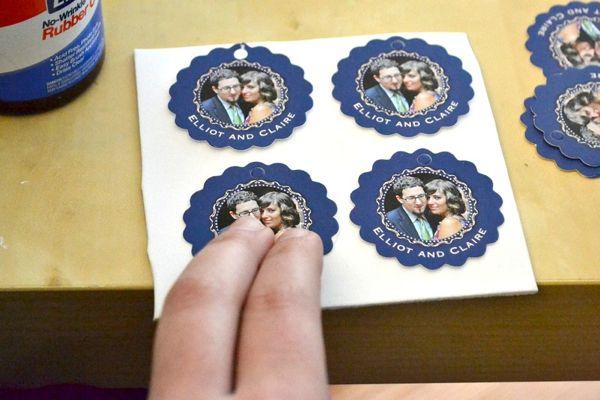
- 사진
- 가위
- 종이 클립 또는 컬러 빨래집게
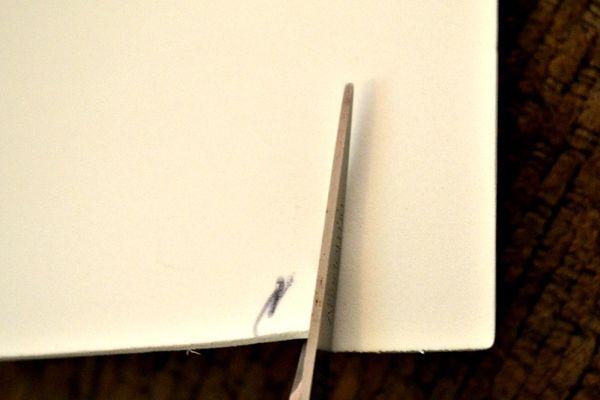
1단계: 꽃병에 맞게 종이나 스티로폼을 측정하고 자릅니다.
꽃병에 딱 맞도록 종이나 폼을 측정합니다. 잘 맞도록 몇 번 다듬어야 할 수도 있습니다. 측정한 곳을 잘라서 꽃병에 맞춥니다.

2단계: 사진을 종이/폼에 붙이거나 테이프로 붙입니다.
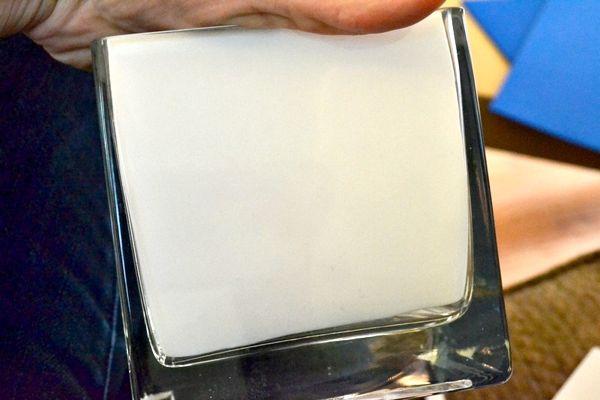
용지/거품을 잘랐으면 사진을 표면에 붙이거나 테이프로 붙이고 제자리에 고정합니다.

거품/종이에 사진이 붙으면 조심스럽게 다시 꽃병에 넣고 색종이 클립이나 옷핀으로 고정합니다.
3단계: 꽃병에 꽃이나 식물을 채우고 전시하기

사진을 자랑하는 귀엽고 재미있는 방법!
더 많은 DIY 공예품
DIY 스텐실 머그
DIY 플레이스 매트 포토 프레임
DIY 초대장 작품

