이 간단한 방법에 따라 더 얇은 자물쇠를 위한 볼륨을 만드십시오. 업도 지도 시간.
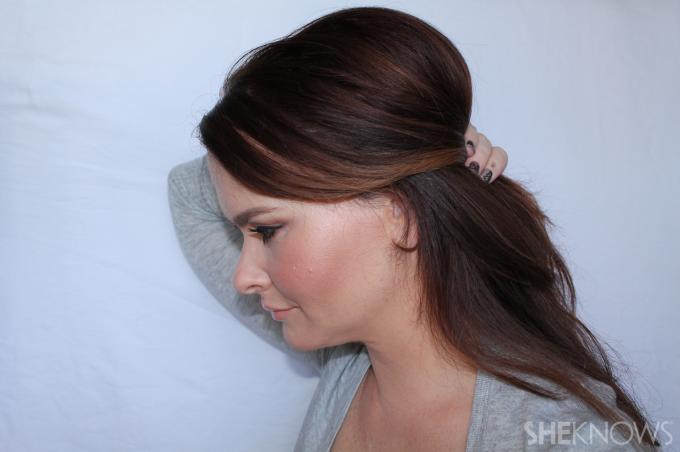
1 단계:

머리 측면에서 시작하여 대각선 부분을 뒤로 만듭니다. 옆 사선 부분은 가늘어지는 머리를 위장하는 데 도움이 됩니다.

2 단계:
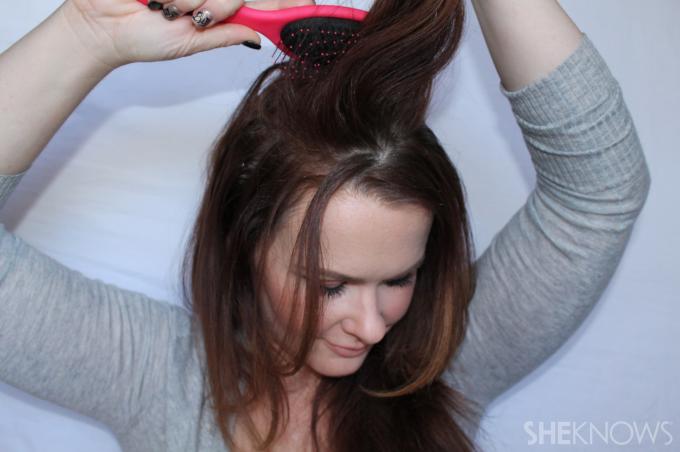
부분 바로 뒤에서 시작하여 머리카락을 부드럽게 뒤로 빗어 볼륨을 만듭니다. 다음 섹션에서 이것을 반복하십시오.

3단계:

머리카락을 제자리에 놓고 부드럽게 펴십시오. 볼륨을 제자리에 고정하기 위해 헤어 스프레이를 머리에 잘 뿌립니다.

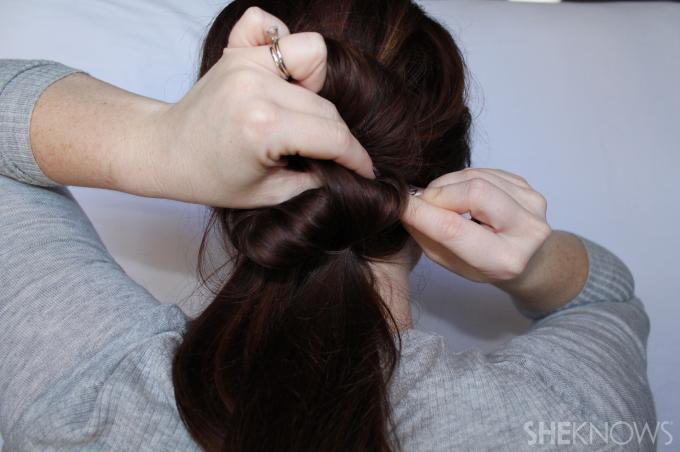
4단계:
머리의 위쪽 절반을 뒷머리로 모으고 포니테일을 만들기 시작하여 "고리"를 만들고 포니테일의 "꼬리"를 남겨둡니다. 이 "루프한" 업도를 만들면 굵고 풍성한 머리카락의 환상을 줄 것입니다.

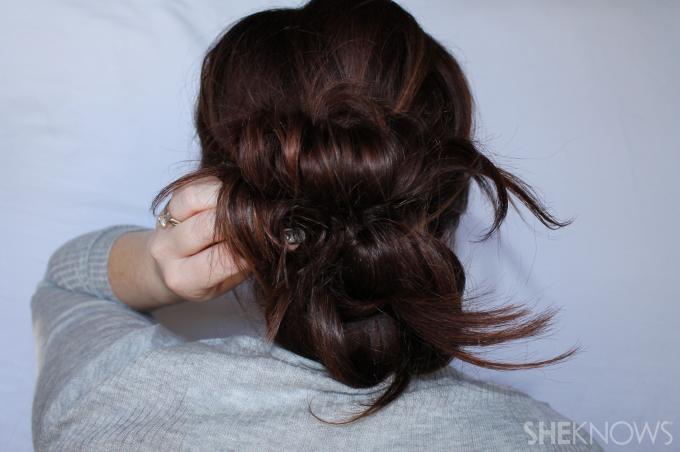
5단계:

바비 핀을 사용하여 루프를 머리에 고정하십시오.
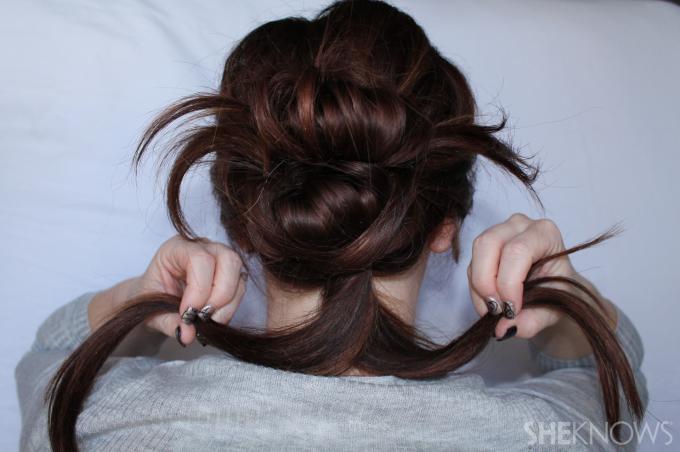
6단계:

머리카락의 아래쪽 절반을 머리 뒤쪽으로 모으고 또 다른 "루프"와 "꼬리"를 만드십시오. Bobby는 첫 번째 것과 마찬가지로 루프를 머리에 고정합니다.
7단계:

나머지 "꼬리" 끝을 잡고 고리 주위에 산발적으로 고정합니다. 끝부분이 루프 형태로 되어 있어 볼륨감이 더해지고 숱이 많아 보이는 착시 효과를 줍니다.


8단계:

앞머리 부분을 가볍게 뒤로 빗어 가늘어 보이는 머리카락을 위장하십시오. 전문가 팁: 백콤은 머리카락을 굵게 보이게 하는 훌륭한 방법입니다. 가볍게 하면 머리카락이 부드러워집니다.
9단계:
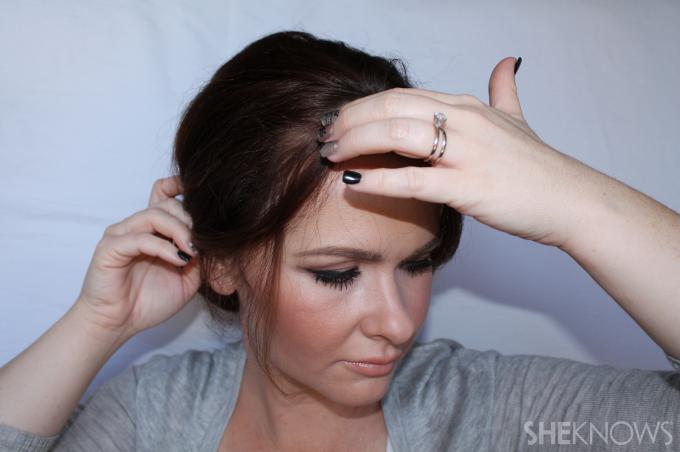
앞머리 부분의 모발이 가장 적은 부분을 잡아서 도톰하게 펴줍니다. 헤어스프레이로 제자리에 뿌립니다.

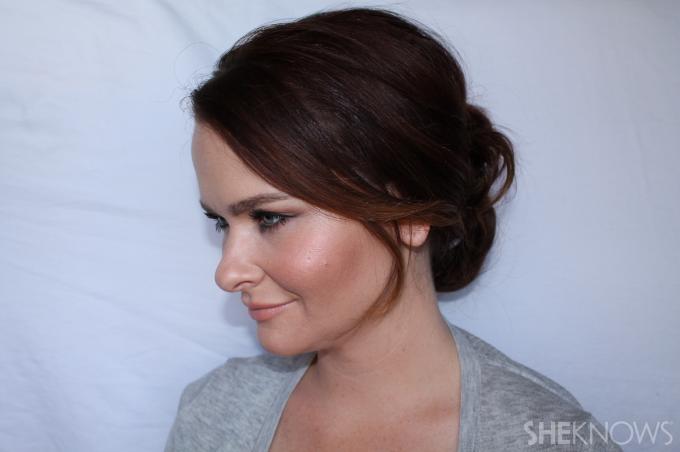
updo는 머리를 완전히 아래로 착용했을 때보다 더 두껍게 보이게합니다. 머리를 내려쓰면서도 ~ 할 수있다 강력한 블로우 아웃, 농축 스프레이/파우더 및 약간의 백 빗질로 더 두꺼워 보이지만 이와 같은 빠른 업도를 선택하면 이 단계 중 몇 가지를 건너뛸 수 있습니다.

이 기사는 원래 2014년 10월에 게시되었으며 2017년 3월에 업데이트되었습니다.
이 포스팅은 아베다로부터 제품을 지원받아 작성되었습니다.
더 많은 헤어스타일 튜토리얼
자란 헤어스타일을 스타일링하세요
젖은 머리를 위한 헤어스타일
더블 브레이드 헤어스타일 튜토리얼